There are many ways of connecting the wireless network, and you can be offered a few of the different options for establishing the connection.
Just for your convenience, we have enlisted the different methods to connect Conon Printer to WiFi. Let’s get on to the methods now to fix Canon pixma printer won’t connect to wifi.
How to Connect Canon Printer to WiFi? 2 Methods to fix Canon Printer won’t connect to wifi
Basically, there are two different methods with which you can connect the Canon Printer to your WiFi- the WPS Method and the Standard Method. Let’s collect some more information about both these methods. Make sure that your Canon Printer is compatible with Wireless Connection.
Method 1: Connect Canon Printer with WPS Method – if won’t connect to wifi
Every Wireless Router comes with a push-button i.e. WPS switch. This method is used to connect the Router with your Windows and Mac systems. The below-given steps will give you more information about this method.
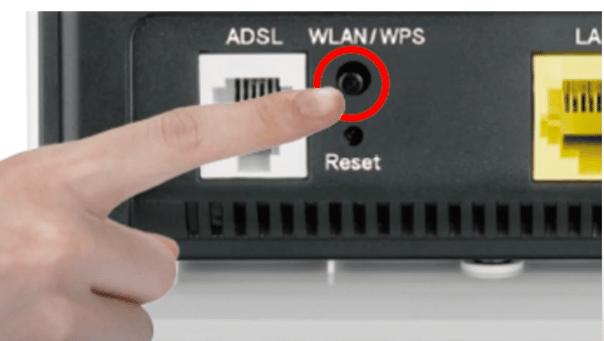
- Turn on the Canon Printer and keep it nearby the router.
- Make sure that the WiFi button on the Canon Printer is On.
- Press the Home button on the Printer.
- Select the Settings button i.e. the Setup button.
- Now, select the Wireless LAN Setup option to establish a new connection.
- Make sure that the Printer is closer to the Wi-Fi router. Press and hold the WPS button for 5-10 seconds.
- Once the connection is established, the indicator light on Canon Printer will be turned off after blinking for a while.
- The display on the Printer will recognize the router’s access point.
- Start printing through Canon’s Printer after putting the sheets in its compartment.
Method 2: Connect Canon Printer with Standard Method – if won’t connect to wifi
The standard method applies to routers without a WPS push button. If the wireless router doesn’t have the WPS push button, then you are requested to follow the Standard Method.
Network Settings and Initial Preparations
The first thing you need to do here is connecting the Printer with your Computer system for a Network Setting. Check the network name in the connection status. The information page displays everything about the network settings. Load the input tray well with papers and then press the resume button or cancel button.
Make sure that the WiFi Connection switch is turned on and it is connected well with the computer system for initial setup. To make a wired connection, you will be required an Ethernet cable. To make the setup process easier, you have to install the latest drivers on your computer system.
Now, connect the Printer with the Internet to check the speed. After this, connect the Computer and the Printer to the WiFi router.
You are done with the initial setup. Now, the connection process for Windows and Mac systems are different. Let’s get on to the steps!
How to Connect Canon Printer With Windows PC Wirelessly?
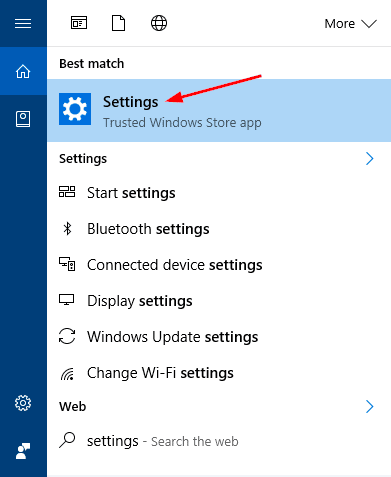
- Click the Start button and then select the Settings option.
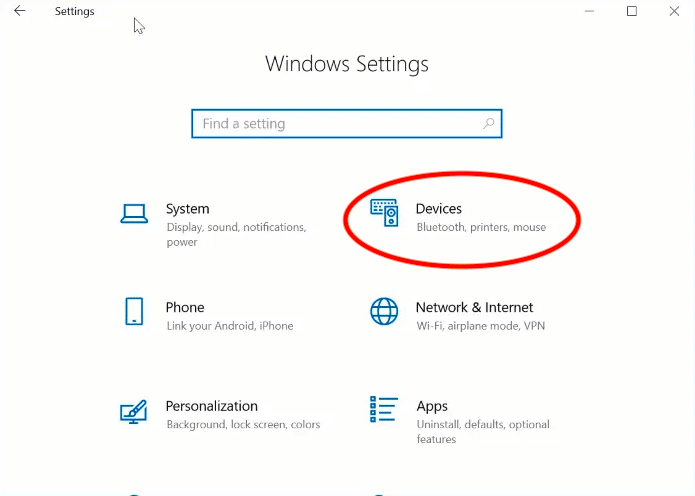
- From the Settings Window, click the Devices option.
- From here, select the Printer and Scanners option.
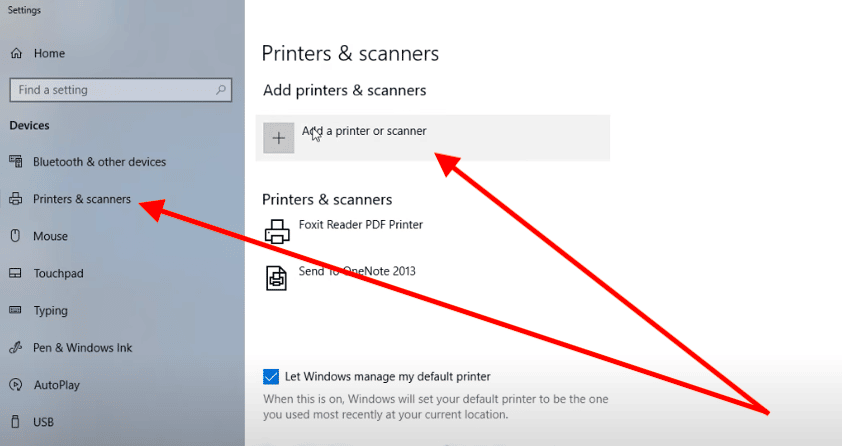
- Select Add Printer or Scanner option from here.
- Now, connect it to the same network as Printer.
- Complete the Setup steps mentioned above.
- Once the setup process is done, you will have the option to start using the Printer from the Windows PC.
How to Connect Canon Printer To Mac OS Wirelessly?
- Go to the Applications folder from the Dock and select the System and Preferences option.
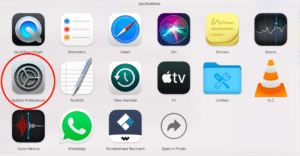
- Select the Printers and Scanners option.
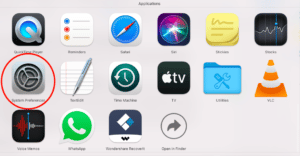
- From here, select the + icon to add a new Printer.
- You will be presented with a list from which you need to select the Printer and add it manually.
- Make sure that the Canon Printer and the Mac system are connected to the same WiFi network.
- Once the connection is done, try to print a test copy from the Mac system through the connected Canon’s Printer.
Final Words:
That’s how you can connect a Canon Printer to WiFi on a Windows and Mac system. Likewise, you can connect the Printer directly to the Android and iOS mobile devices using the official app which is available for both Android and iOS platforms.
Besides this, you can also connect the Canon Printer to your computer system using a USB cable. You will get the standard USB data cable to a wired connection inside the box.
If you face any difficulty while connecting the printer to your computer system wirelessly, then we recommend you use the standard USB Cable for a hassle-free connection to fix why my canon pixma printer won’t connect to wifi network.
I am Komal Hatwaani, aims to provide readers with informative and engaging content that covers everything from technology and business to entertainment and lifestyle. This website dedicated to delivering high-quality content that informs, entertains, and inspires our readers.
Join us on our journey as we continue to explore the ever-evolving landscape of news and information, providing you with valuable insights and perspectives that enrich your digital experience.


